Some Answers

Creating a Pivot Chart
 Create a Pivot chart with a Slicer
- You have already created a Pivot Table from you data and would like to analyse it further.

- Select the Analyze tab
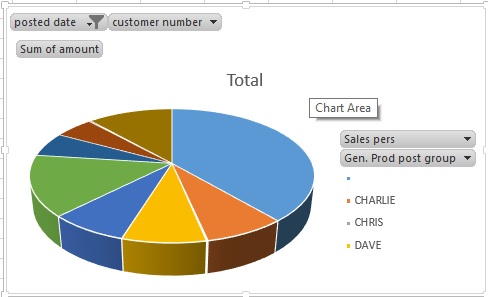
- Select the pivot chart icon

- A dialog box will present you with options for the chart that you would like to select

- We will select the pie chart.
- Select your chart and copy it to another sheet
- Select your chart and analyze tab will appear.
- Select the analyse tab

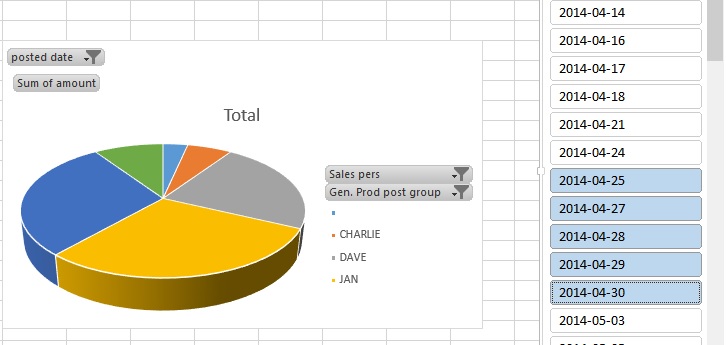
- From the menu select inset slicer

- We will select Posted date

- Move the date box to the side of the chart and stretch it longer
- With all the dates selected you are able to see all the sales
- Select just a few days and you will see the sales for that period only
- To view all dates; all dates must be selected
Linking Excel Files
View Instructions for Linking two Excel files
- Linking two different excel files is not ideal but maybe necessary.
- Changes in the format of either file may result in corrupted data.
- For the purposes of confidentiality of one file; it may be necessary to link to another file.
- There are a few steps that you can use to improve the integrity of your data.
- Ideally the source and the dependant file are kept in the same folder on your network
- Maintain the format of the source file and the destination file
- From the cell in the destination file enter =
- Select the cell in the source file that you would like to like and press enter


- Once the file has an external link, the Edit Links button become activated on the Data tab.

- The dialog box allows you to manage your external links.
Managing Named Ranges
View instructions how to manage named ranges
- Naming ranges is an effective method of securing your data source and allows you to create complicated formulas relatively easily.
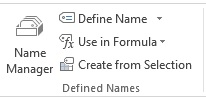
- With Excel 2010 they have created a section on the Formula tab to help manage named ranges.
- Select a group of cells that you would like to name
- Click on the Define name
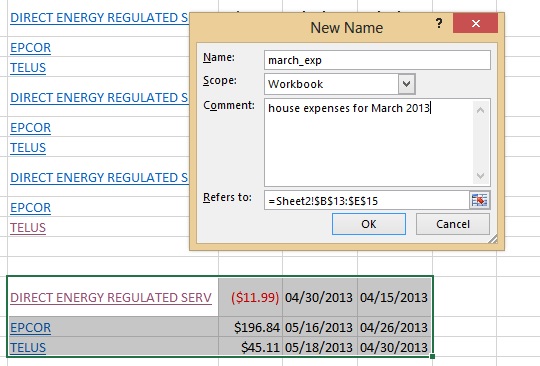
- Enter the desired name for the range of cells
- In comments, enter a description of what the group of cells
- Click O.K.
- Click Name Manager
- The dialog box will be displayed
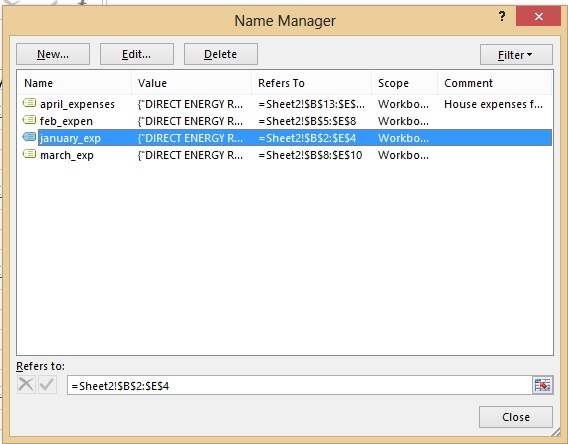
- To delete the name of the range; select the name from the list and click delete
- To edit the name of the range; select the name from the list and click edit.
- With the dialog box that appears, you are able to change the name, add comments or change the range of cells that this name refers.